
Setting Up A Raspberry Pi with Raspberry Pi OS
Introduction
I’ve been playing around with Raspberry Pis for a while now, they are awesome little computers that can be used for thousands of different things. After getting a few requests I decided that I should make a short guide on setting up a Pi. I will be doing multiple guides that include: Setting up a VPN server, Running OctoPi, Running PiHole, etc. bu this guide will be simply about setting up Raspberry Pi OS on a MicroSD card and getting SSH functional. This should work for any iteration of Raspberry Pi available for purchase at the moment. As always, I am not responsible for anything you do or damages/mayhem you may cause, and the Amazon links are affiliate as they help me to keep this site up and continue providing content.
Hardware that you need:
A Raspberry Pi:
There are multiple places you can buy a Raspberry Pi from, you can get them in a kit or just the board by itself. I’m more keen to just buy the board itself because I can 3D print cases and don’t need all the extra stuff that comes in the kits. Here’s a link to different kits you can buy from Amazon: RPi Kits
Raspberry Pi 3B+ - This model was released back in 2014, it is still a work horse but if you can pick up a RPi4B for around the same price I would rather do so. It is a full fledged computer with 4 USB ports, an HDMI port and 100 Base ethernet port, also has a 3.5mm jack if you want audio over that instead of HDMI. This Pi is what I’ve used to build emulators, run OctoPi, and various other projects.
Raspberry Pi 4B - The latest iteration of the Raspberry Pi as of this guide, it has many of the same features as the 3B+ but upgraded, it is powered by USB-C, has 2 Micro HDMI Ports capable of supporting 2 x 4K displays, 4x USB ports with 2 of them being USB 3, and a gigabit ethernet port. It is more powerful than the previous edition released, has a faster processor and you can choose a board with 2GBs of RAM or up to 8GBs. I’ve actually not had a chance to buy one and use it yet but I have a few projects I plan on doing with one. One thing to note is you will need HDMI to Micro HDMI adapters to plug in displays whereas the Pi3B+ uses full HDMI ports.
Raspberry Pi 0w - My choice for small low computing power projects, can be found fairly cheap, Amazon has them for around $19, it has WiFi and Bluetooth. I wouldn’t buy the Raspberry Pi 0 as it has neither of those things, although you can pick them up for about $5, so if you’re using them in an application that doesn’t require WiFi, they’re a great buy. Note that this model of the Raspberry Pi requires an OTG cable and Micro HDMI to HDMI cable in order to make use of a USB keyboard/mouse and monitor. The OTG cable is plugged into the Micro USB port and allows you to use multiple USB devices. If you plan on using a monitor or a display of any kind you’ll need an adapter just like you would for the Raspberry Pi 4B since the Pi Zero has a Micro HDMI port, I use an HDMI to Micro HDMI adapter, but they also make VGA to Micro HDMI as well.
Power Adapters:
All Raspberry Pis require power ranging from 1.2A to 3A, there are multiple vendors out there that sell different power supplies and honestly if it provides the necessary amount of juice then the Pi will most likely work but I have came across issues where my Pi said it is under voltage, under powered, and weird things have happened. If you have a USB power supply that works for your Pi then use it, but I’ve linked the official power supplies. You can even power a Pi from the GPIO pins but to keep it simple I just used a USB power supply.
Official Raspberry Pi 4 Power Supply - There are a lot of third party power supplies out there that provide 5.1V, 3A, the official power supply is rated for exactly what you would need to run the Raspberry Pi 4.
Official Raspberry Pi Universal Power Supply - This is another official power supply, this one comes with a host of different adapter plugs that you can use if you were to travel around the world. This works for Raspberry Pi 0 and up to 3B+ since it is microUSB.
MicroSD card
I would generally go with the common brands out there such as Samsung, SanDisk, Kingston. MicroSD classes are supposedly important but I’ve actually never had any issues or notice any slow downs with any MicroSD cards I’ve used. For the size, I would recommend a minimum of 16GBs, most of my Pis run at least a 32GB MicroSD just to be safe, and even up to 256GB if I’m using a Pi to do timelapse shots or anything that requires a large amount of data.
Samsung MicroSD 256GB - This is what I personally use in my Raspberry Pis that need the storage
Samsung MicroSD 32GB - This is more than sufficient for most applications and what I’ve usually go to
SanDisk MicroSD 16GB - This is the minimum storage size recommended, it works and is super cheap
Raspberry Pi OS installation and SSH setup
Here are a few software and files you will need for the process:
Software to flash the OS on to a MicroSD card, I use BalenaEtcher which can be downloaded here
Raspberry Pi OS image, I used the “Lite” image because I don’t need a full blown desktop: Raspberry Pi OS (32-bit) Lite
PuTTY, this is what I use to open SSH sessions on the Pi, you can use any other SSH client you’d like: PuTTY
Angry IP Scanner, I used this to figure out what the IP of my RPi is, I used the Executable for 64-bit Java version so I didn’t have to install anything: Angry IP Scanner
Downloading and Flashing Raspberry Pi OS
You’ll want to follow the links above and download all the necessary files and software. Place all of these in a folder somewhere.
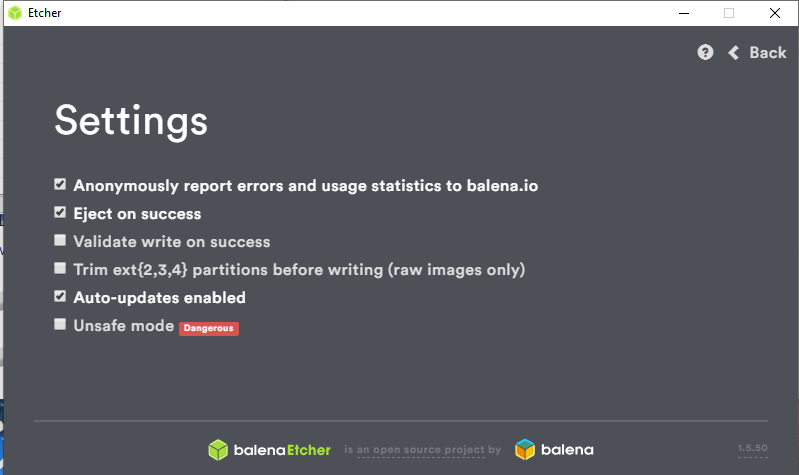
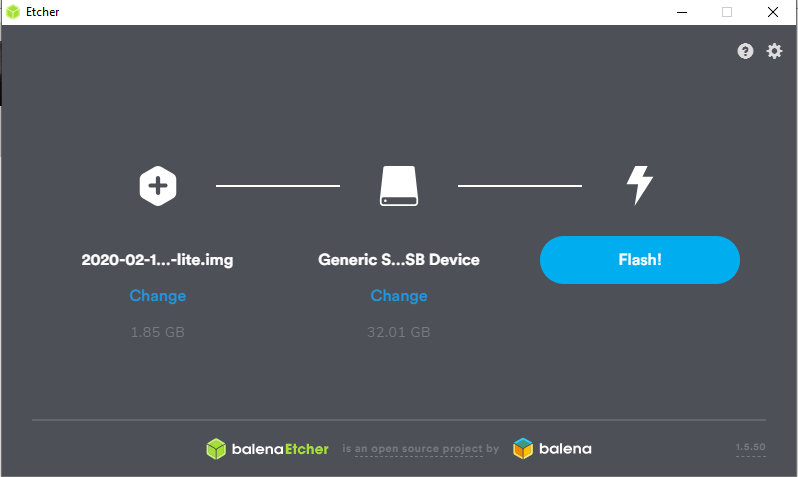
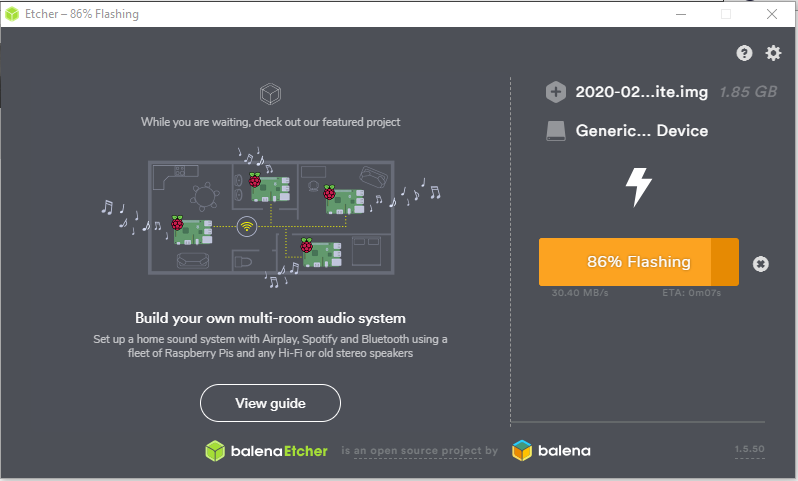
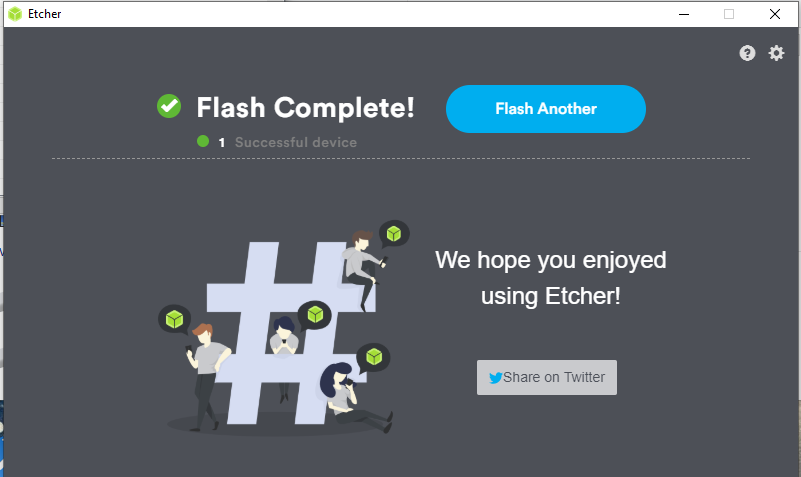
First install the BalenaEtcher program on your computer, for whatever reason even though I download my Raspberry Pi OS image from the official site it always fails the verification check when flashing, so I go into the settings and uncheck the “Validate write on success” box along with the “Eject on success” box because we’ll need to do some housekeeping after the image successfully flashes. With the BalenaEtcher program opened, select the Raspberry Pi OS zip file you downloaded, select the MicroSD card (Make sure you select the correct one), and press the “Flash!” button. Refer to the pictures below to see how the process for flashing should look like:
Creating the wpa_Supplicant.conf and ssh files
After flashing the image on to the MicroSD card you will want to open the MicroSD in file explorer, it should be labeled as “boot”. Please make sure that you have the option to show File name extensions enabled on your computer. You will want to create the wpa_Supplicant.conf file on the root of the MicroSD card with the contents:
country=us
update_config=1
ctrl_interface=/var/run/wpa_supplicant

network={
 scan_ssid=1
 ssid="SSID"
 psk="Password"
}
The “ssid” field should be changed to your network’s name and the “psk” field to your wifi’s password. The “key_mgmt” field assumes you’re using WPA-PSK, and the “country” field also assumes you’re in the us. If you’re not using WPA-PSK or live in the US you will need to changes these to match your access point’s settings. NOTE: If you’re confused about how to create a file with “.conf”, all you have to do is create a text file delete the “.txt” at the end of the file and type “.conf” in it’s place. This is why you need File name extensions enabled so you can see the actual extension of the file and not just create a text file called “wpa_Supplicant.conf.txt”.
The next file you’ll have to create is a file called “ssh”, this file will also be on the root of the MicroSD card. The file will have no extension, all you have to do is simply create a text file and call it ssh, rename it and delete the “.txt” portion in the name. Now that you’re done with those steps, eject the MicroSD and place it in your Raspberry Pi and plug in the power, the Pi will take a minute or so to fully boot up.
Find the IP of the Raspberry Pi
If this is the only Raspberry Pi device on your network you won’t have to go through this portion of the guide. You should be able to just jump straight to the SSH client portion below and use the Hostname “raspberrypi.lan”. To find the IP of the Raspberry Pi open the Angry IP Scanner tool you downloaded earlier, this tool’s use is essentially to help you figure out what DHCP IP address the Pi grabbed. When you open up the tool you’ll notice an IP Range, if that IP range doesn’t look correct you’ll have to click on the “IP” button next to the Hostname and select the correct network adapter. You may not have to do this if you only have one network adapter, I have two. Once the correct range is shown just click the “Start” button, the scanner will run and grab all IPs on the network. When the scan is completed a “Scan Statisctics” window will pop up, just close it. I usually click on the “Hostname” column and “Sort by Hostname”, this will show you all the devices that are labeled. We want “raspberrypi.lan”, make note of the IP address associated with it, you can use that or the Hostname in order to SSH into it.

SSH into Raspberry Pi with PuTTY
You can use any SSH client but I usually do all my SSH from PuTTY. You’ll want to open up PuTTY and type in the IP address of the Raspberry Pi, as mentioned above you can also use the hostname if you want. Make sure that the port is set to “22”, click “Open” and an SSH session will start. To log in you’'ll use Pi as the username and raspberry as the password. Once logged in you’ll be greeted by a message about the version and a message asking you to change the default password. That is usually the first thing I do, type passwd, you’ll be prompted to enter the current password and then a new password. At this point you’ve successfully setup a Raspberry Pi to run Raspberry Pi OS! Congrats!

Conclusion
As with most of my guides, this was meant to be a concise and quick one on setting up a Raspberry Pi, now that it’s online and accessible there are unlimited possibilities. There are various projects out there that can be done, I will be publishing a few more guides in the near future on projects that I’ve done and uses I’ve found for the Pi. Stay tune and as always leave a comment or question if you have one. Also be sure to donate via my Paypal below if this has helped you and share this guide!
For more information about Raspberry Pis, you can visit the official site which has all the information you’d need: https://www.raspberrypi.org/